Subjects · · 3 min read
How to Scan Old Photos (or Copy Them Properly With a Phone)
How to scan old photos at the right resolution, or copy them with your phone when you don't have a scanner: settings, lighting, glare, file types and what next.
By Thomas Mark
Last updated: September 2026
How to scan old photos
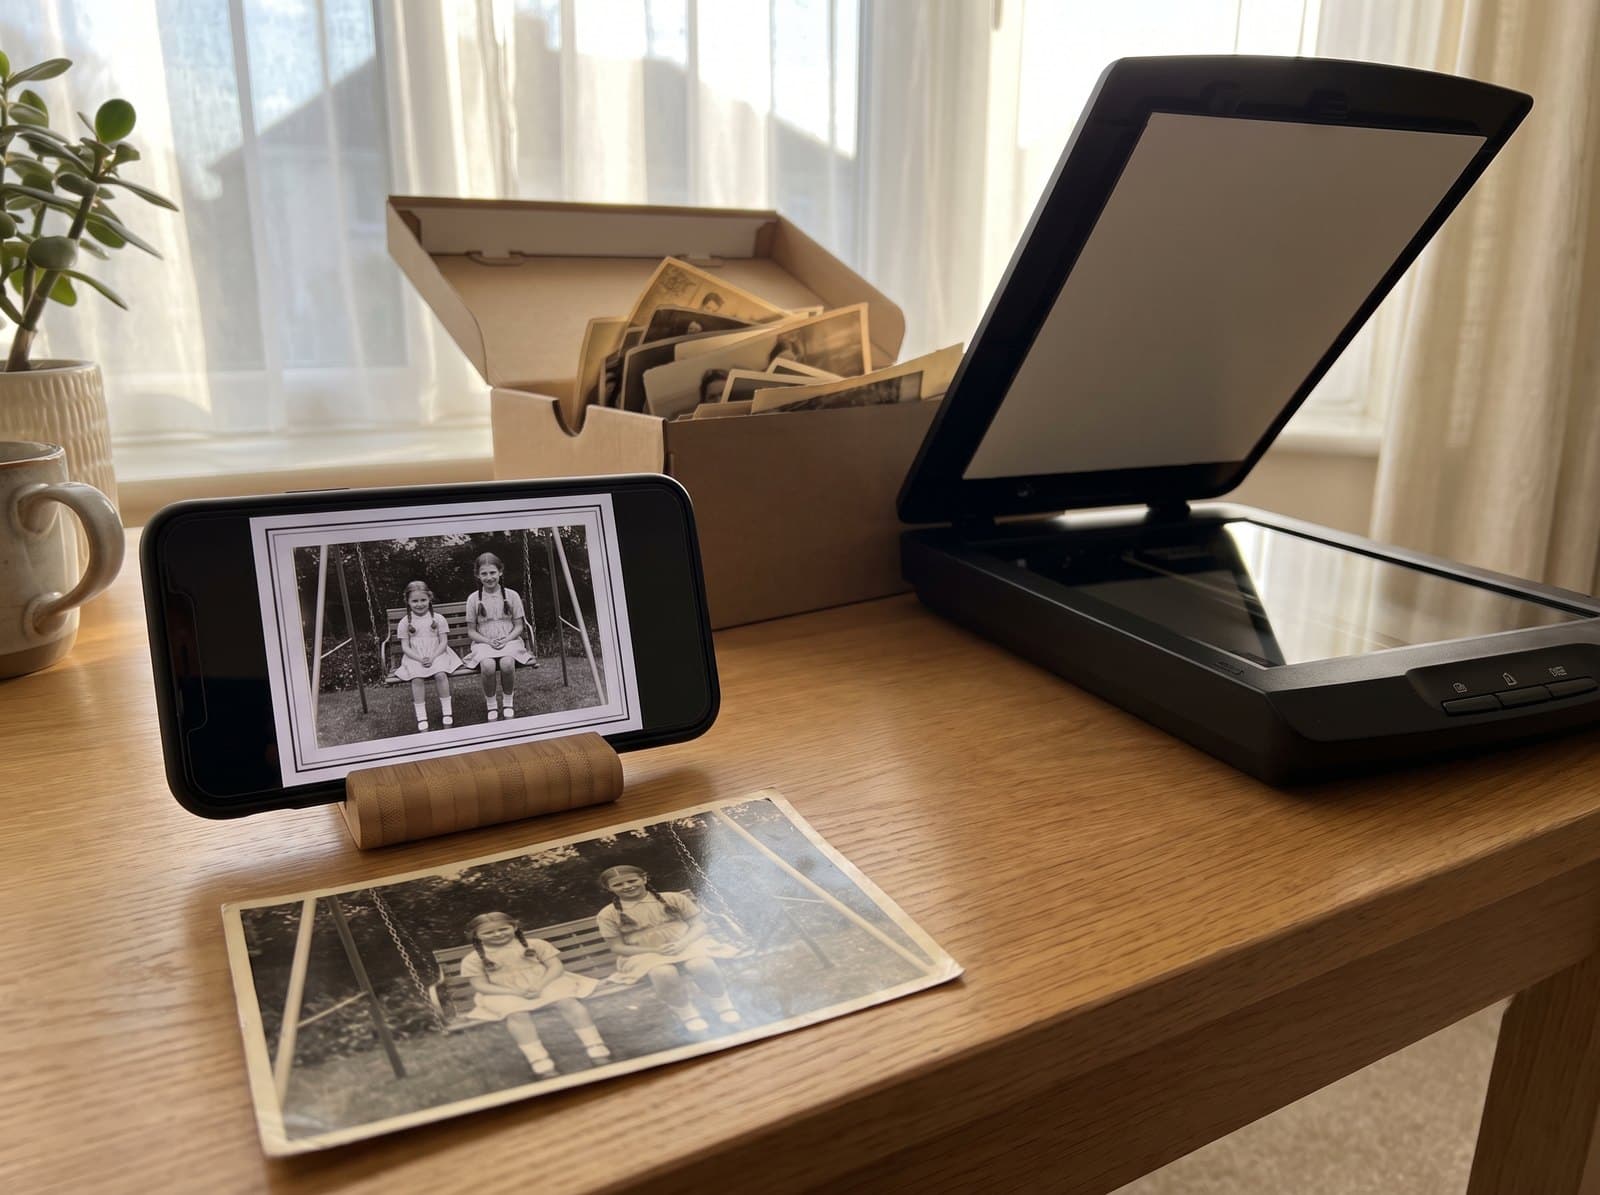
Quick answer: On a flatbed scanner, scan normal prints at 600 dpi and small ones at 1200 dpi, in colour even for black-and-white photos, with automatic "enhance" settings switched off, and save the files as TIFF or top-quality JPEG. Without a scanner, a phone does a good job. Lay the photo flat by a window in daylight, turn the flash off, hold the phone parallel to the print, and fill the frame.
Scanning with a flatbed scanner
- Clean the glass with a soft, dry microfibre cloth. Every speck of dust scans as a white dot.
- Place the photo face down and square to the edge of the glass.
- Choose the resolution from the table below.
- Scan in colour, even for black-and-white prints. It keeps the warm sepia tones and gives a restorer more to work with.
- Switch off automatic dust removal, sharpening and "photo enhance". They can smear fine detail such as eyelashes and hair.
- Save as TIFF, or as JPEG at the highest quality, and give each file a name you'll understand later, such as
1962-grandma-wedding.jpg.
| Print size | Scan at | Why |
|---|---|---|
| Postcard size (6×4in) or larger | 600 dpi | Enough to reprint it bigger than the original |
| Smaller than a postcard | 1200 dpi | Small prints need more detail captured per inch |
| Tiny prints and passport photos | 1200 dpi or more | Faces are only a few millimetres across |
| Negatives and slides | A film scanner or a lab | Flatbeds without a film holder can't light them properly |
Copying with a phone
- Use soft daylight near a window, out of direct sun. Overhead room lights leave glare and a yellow tint.
- Turn the flash off. It bounces straight back off glossy prints.
- Hold the phone parallel to the photo. Switch on the camera grid and line it up with the edges, so the photo doesn't come out wedge-shaped.
- Fill the frame with the photo, leaving a small border.
- Tap on a face to focus, and take three or four shots.
- Beat glare on glossy prints by moving the photo or yourself until the reflection leaves the image. Google's free PhotoScan app helps by combining several shots to remove glare.
- No filters or portrait mode. Keep it plain.
Photos in albums and frames
Photos in old "magnetic" albums, the ones with a sticky page under clear film, are often glued fast. Don't peel them. Copy them in the album, lifting the clear film if it comes away easily. For a framed photo behind glass, take it out of the frame if you can do so safely. If not, photograph it at a slight angle so your reflection isn't in the shot.
After scanning
- Back up the files in two places.
- Repair the damaged ones. Our guide to fixing torn, creased and water-damaged photos covers what can be done, and we restore photos for £9 each.
- Pick out the best one for the wall. A good copy of an old photo is all a painter needs to paint it in oil.
Frequently asked
What dpi should I scan old photos at?
600 dpi for postcard-sized prints and larger, and 1200 dpi for anything smaller.
Is scanning better than taking a photo with my phone?
A scanner gives flatter, more even results, especially for small or glossy prints. A careful phone photo in daylight is good enough for most restoration and for a painting.
Should I scan black-and-white photos in colour?
Yes. Colour mode keeps the original tones of the print and captures more information for any later repair or colourising.
Can I scan photos that are stuck in an album?
Yes. Scan or photograph them in place rather than forcing them out.
More onOld photos